
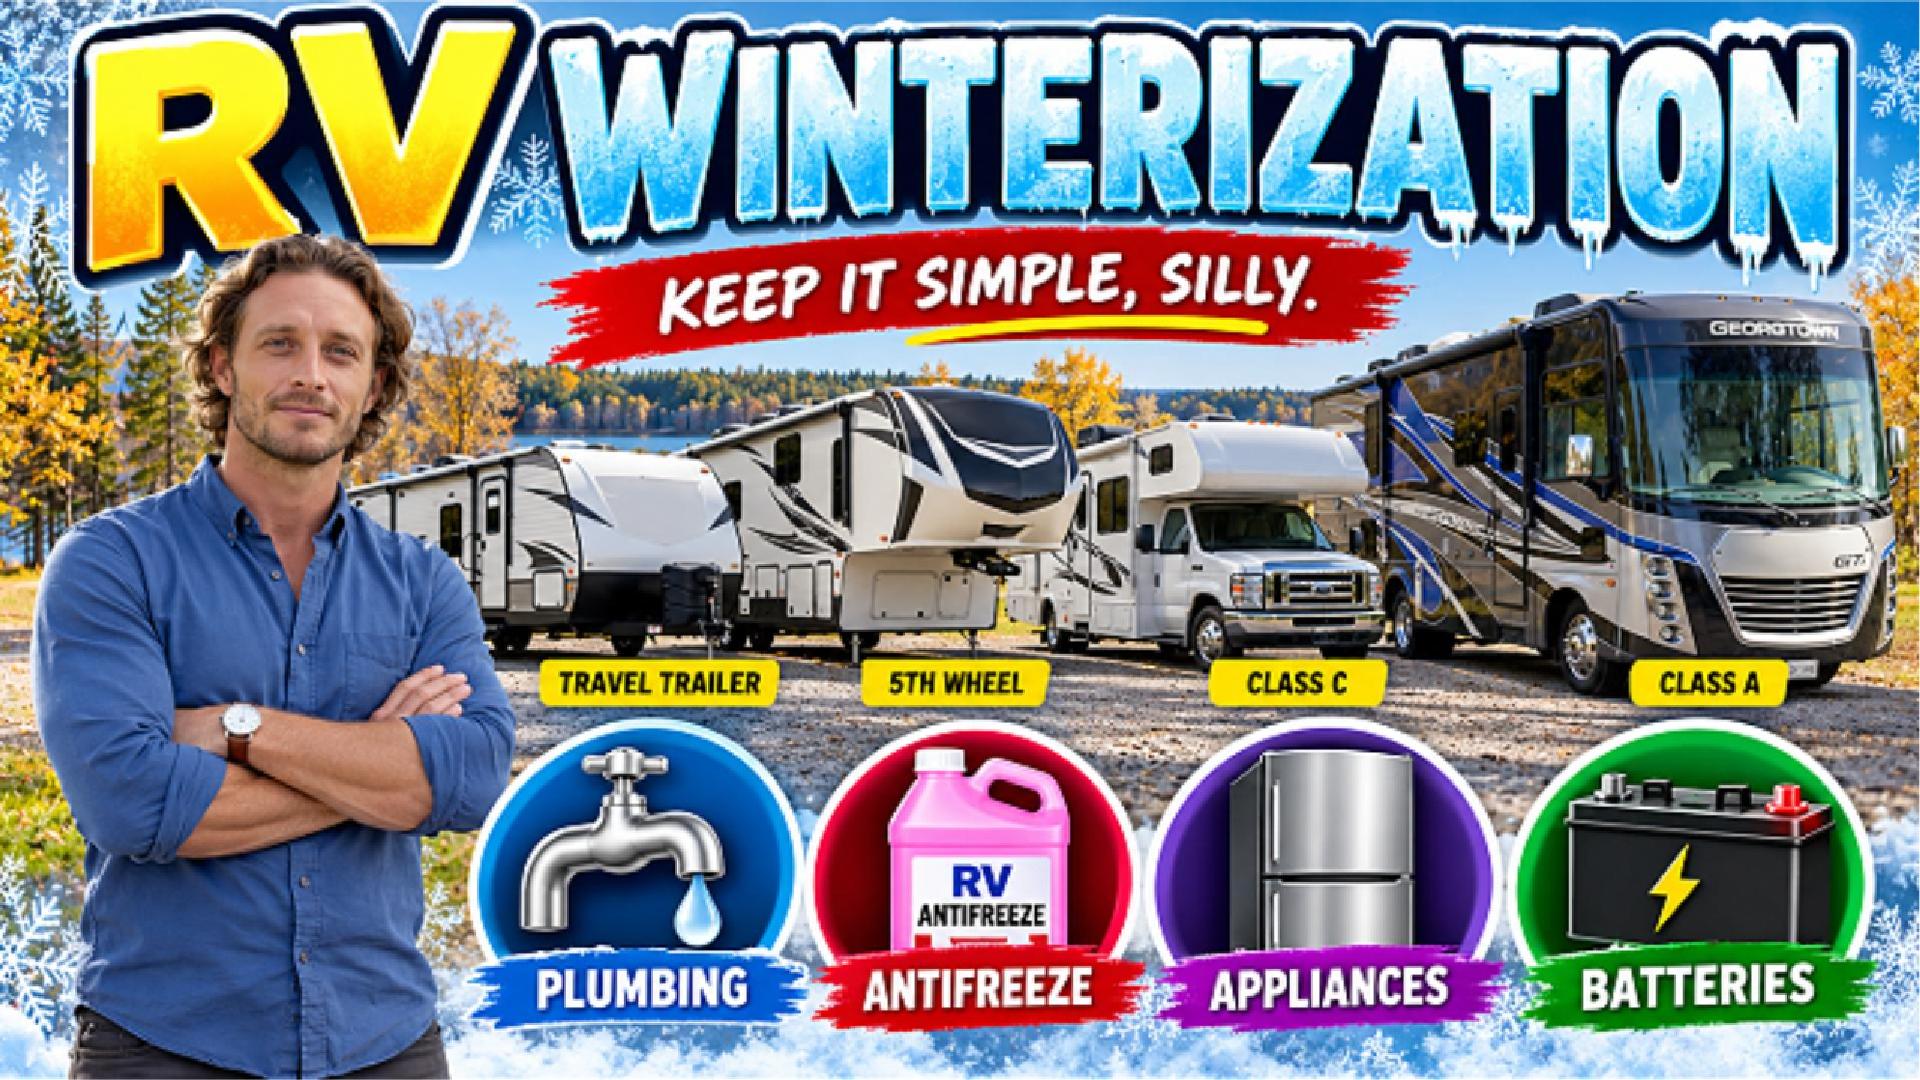
Winterizing your RV doesn’t have to be complicated! Whether you own a travel trailer, fifth wheel, Class C, or Class A motorhome, this step-by-step DIY guide walks you through the essentials of preparing your RV for freezing temperatures.
From draining water lines and adding antifreeze to protecting appliances, batteries, and more, we’ll show you how to tackle RV winterization with confidence.
Watch our complete video tutorial and download the FREE printable RV Winterization Checklist so you can follow along at your own pace.
Keep It Simple, Silly!
Watch the Complete RV Winterization Video
RV Winterization: 14 Easy Steps from Start to Finish
These 14 easy steps provide a quick overview of RV winterization. For detailed instructions, important safety precautions, and equipment-specific procedures, watch our complete video tutorial or download the FREE printable checklist below. Always follow your RV and appliance manufacturers’ recommendations.
1. Before You Begin (00:00)
Identify your RV type and equipment. Review your RV and appliance manuals for the correct winterization procedures.
2. Gather Tools & Supplies (00:55)
Gather non-toxic RV/marine antifreeze, a winterization hand pump or suction hose, basic tools, and an optional regulated air compressor.
3. Drain the Freshwater System (02:40)
Disconnect city water, turn off the water pump and water heater, and drain the freshwater tank and low-point water lines. Check water filter requirements.
4. Drain & Bypass the Water Heater (04:55)
Allow the water heater to cool, relieve pressure, and drain it according to manufacturer instructions. Set the bypass valves to prevent antifreeze from entering the tank.
5. Blow Out Water Lines (Optional) (08:45)
Use a regulated air compressor within your RV manufacturer’s pressure limits to remove remaining water from the plumbing system.
6. Protect Outside Water Connections (11:40)
Winterize exterior water connections, outdoor showers, tank-fill ports, and black-tank flush systems using their appropriate procedures.
7. Add RV Antifreeze (13:30)
Use the RV’s built-in winterization suction system or an approved hand pump to distribute potable-water-safe RV antifreeze through the plumbing. Protect faucets, toilets, and drains.
8. Winterize the Refrigerator (17:40)
Follow manufacturer-approved procedures for protecting refrigerator water lines, dispensers, and ice makers.
9. Winterize the Washing Machine (21:35)
If equipped, follow the washer manufacturer’s winterization instructions to protect its internal valves, pump, and plumbing.
10. Shut Down the Water Pump (23:15)
Turn off the freshwater pump and return the winterization selector valve to its normal position, as appropriate.
11. Prepare Your RV for Storage (24:35)
Inspect exterior seals, tires, slide rooms, propane appliances, and storage compartments.
12. Protect Your Batteries (26:40)
Check house and chassis batteries, verify charging arrangements, and follow battery-specific storage recommendations.
13. Fuel, Generator & Rodent Prevention (29:20–30:50)
Follow engine and generator storage instructions. Remove food and seal potential rodent entry points without blocking required ventilation.
14. Final Walkthrough (31:55)
Confirm all systems are protected, record your winterization date, and schedule periodic storage checks.
Download Your FREE RV Winterization Checklist
Prefer a checklist you can take right to your RV? Download our FREE printable RV Winterization Checklist! It includes detailed instructions, helpful reminders, and video timestamps so you can follow along from start to finish.